
Auto Clicker Not Working? 8 Causes and Fixes
Eight real reasons a browser auto clicker stops working, how to spot each one, and which ones you can fix.
Guides
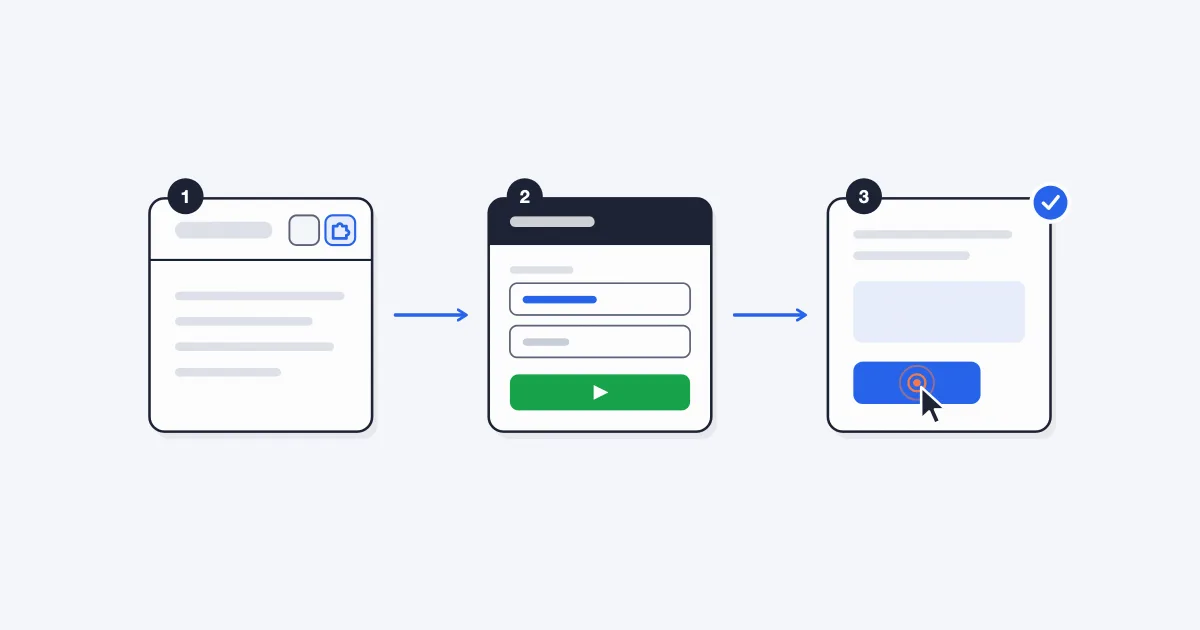
To use an auto clicker in Chrome, add an auto clicker extension, open the page you want to click, choose what to click, set an interval, and press Start. The whole setup takes under a minute. This guide walks through each step with Simple Auto Clicker, the free extension we make, and explains how to pick the right settings.
There is nothing to download outside the browser, and you do not need an account.
Go to the Simple Auto Clicker homepage and use the install button to open the Chrome Web Store listing. Click Add to Chrome, then Add extension in the box that appears.
Chrome will list what the extension can do. Simple Auto Clicker asks for three permissions only:
It collects no data. You can read the details in our privacy policy.
Click the puzzle piece icon at the top right of Chrome. Find the extension in the list and click the pin next to it. The icon now stays in your toolbar, so you can open the popup with one click.
Go to the page you want to click and let it load fully. Then click the extension icon. The popup has two parts:
The Target menu has two options. Which one you want depends on what you are clicking.
Element mode clicks one specific thing on the page, such as a button or link. After you press Start, a blue bar at the top of the page says "Click an element to start auto-clicking." Move your pointer onto the page, and a blue outline shows which element will be picked. Click the one you want and clicking begins. The popup closes when you click the page. Press Esc to cancel.
Element mode is the best choice for most tasks. It keeps clicking the same element even if the page layout shifts, for example when a banner loads above it. If the element disappears from the page, the clicker stops on its own instead of clicking something else.
Cursor mode clicks wherever your pointer is on the page. After you press Start, move the pointer over the spot you want clicked. Until you do, the status pill says "Move cursor over page". It uses the last position of your pointer on that page.
Use Cursor mode for games drawn on a canvas, where there is no separate element to pick, or when you want to move the click point around by hand.
The Interval (ms) field sets the time between clicks in milliseconds. 1,000 ms is one second. The default is 250 ms, which is four clicks per second. The lowest value is 50 ms. If you type something lower, the extension uses 50.
Pick the slowest interval that still gets the job done. Faster is not always better, because many pages and games cannot keep up.
| Task | Suggested interval | Why |
|---|---|---|
| A refresh-style or "Load more" button | 1,000 ms or more | Gives the page time to respond between clicks |
| Cookie Clicker | 350 ms | The game counts scripted clicks at up to about 3 per second |
| Idle and clicker web games | 250 ms, then adjust | Check that each click registers before going faster |
| Measuring top speed | 50 ms | The floor: 20 clicks per second |
We tested the Cookie Clicker setting ourselves, and our Cookie Clicker setup guide shows it step by step. For why 50 ms is the limit, read how fast an auto clicker can click.
Click Start. In Cursor mode, clicking begins as soon as your pointer is over the page. In Element mode, it begins after you pick the element.
Two things show it is running:
If the pulse shows but the page does not react, the site may be ignoring scripted clicks. See the limits below.
You have three ways to stop:
Reloading the page, going to a new page or closing the tab also stops it.
Each tab runs its own loop with its own mode and interval. You can pick a button in one tab at 1,000 ms and click a game in another tab at 250 ms, and they will not affect each other.
The Running tabs list in the popup shows every active tab with its site, interval and mode, plus a Stop button for each one. Use it to keep track when you have several going. Keep the tabs you care about visible, because Chrome slows timers in background tabs to save power.
If you build or design web pages, an auto clicker is a quick way to see how a button behaves under repeated clicks: whether a form can be submitted twice, whether "Load more" still works after 200 clicks, or whether a carousel reaches its last slide. Use Element mode so every click lands on the same button.
Repeated clicks tell you a button works. They do not tell you whether visitors will notice it. For that, an attention heatmap helps: the Attention Insight Chrome extension predicts which parts of a live page draw the eye, so you can check the same button from both sides.
Being clear about limits saves you time:
If something is not working, our troubleshooting guide goes through each cause.
No. Chrome itself has no auto clicker, so you need an extension. ChromeOS does have an accessibility feature called Automatic clicks, which clicks once when your pointer stops.
Yes, the loop keeps running in its own tab. Chrome slows timers in tabs you cannot see, so a hidden tab may click less often than you set.
The page probably reloaded or changed, which ends the loop. In Element mode, it also stops when the picked element disappears. Start it again once the page is ready.
Yes. Simple Auto Clicker works in Chrome, Microsoft Edge and Brave on Windows, macOS, Linux and ChromeOS.
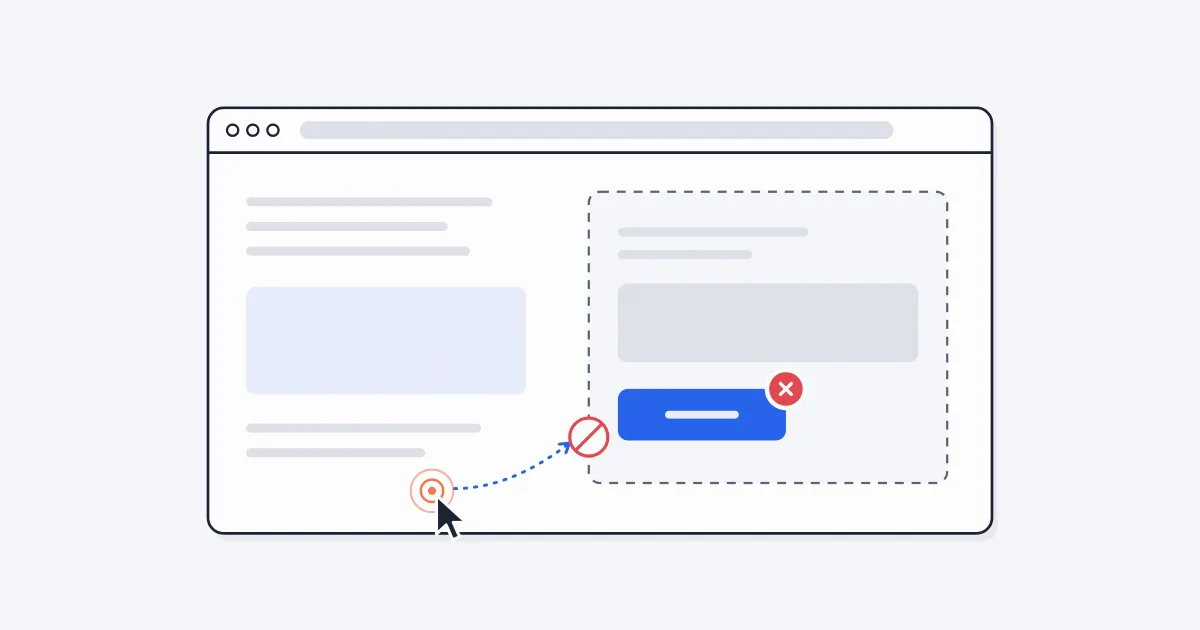
Eight real reasons a browser auto clicker stops working, how to spot each one, and which ones you can fix.
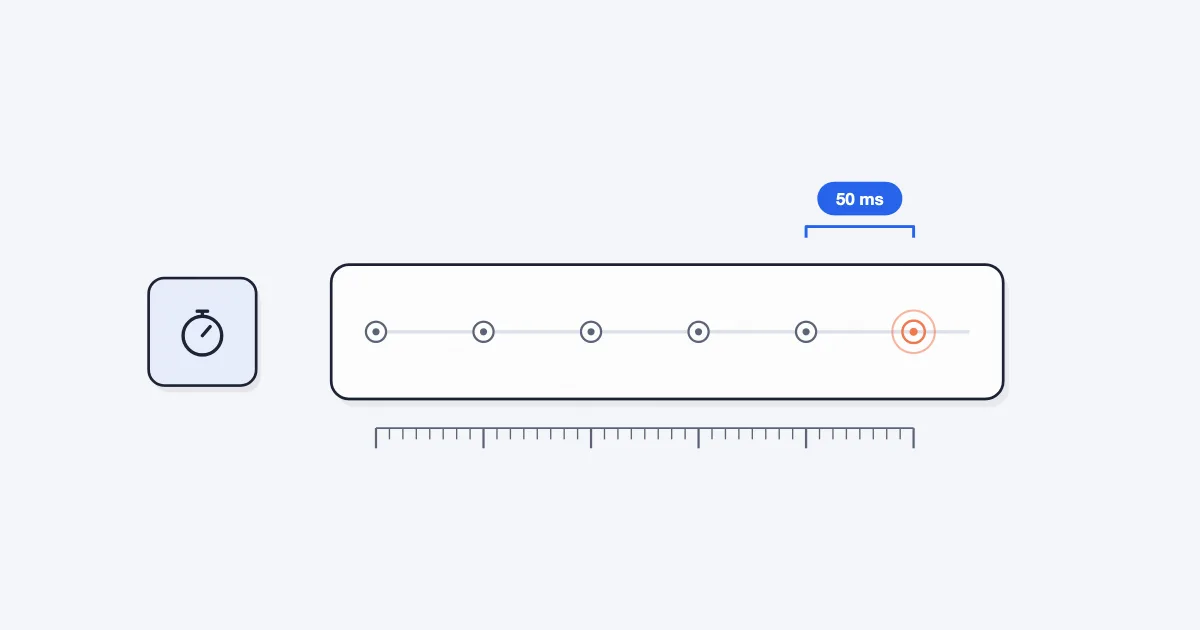
What limits auto clicker speed in Chrome, why Simple Auto Clicker stops at 50 ms, and how to measure the clicks per second you really get.
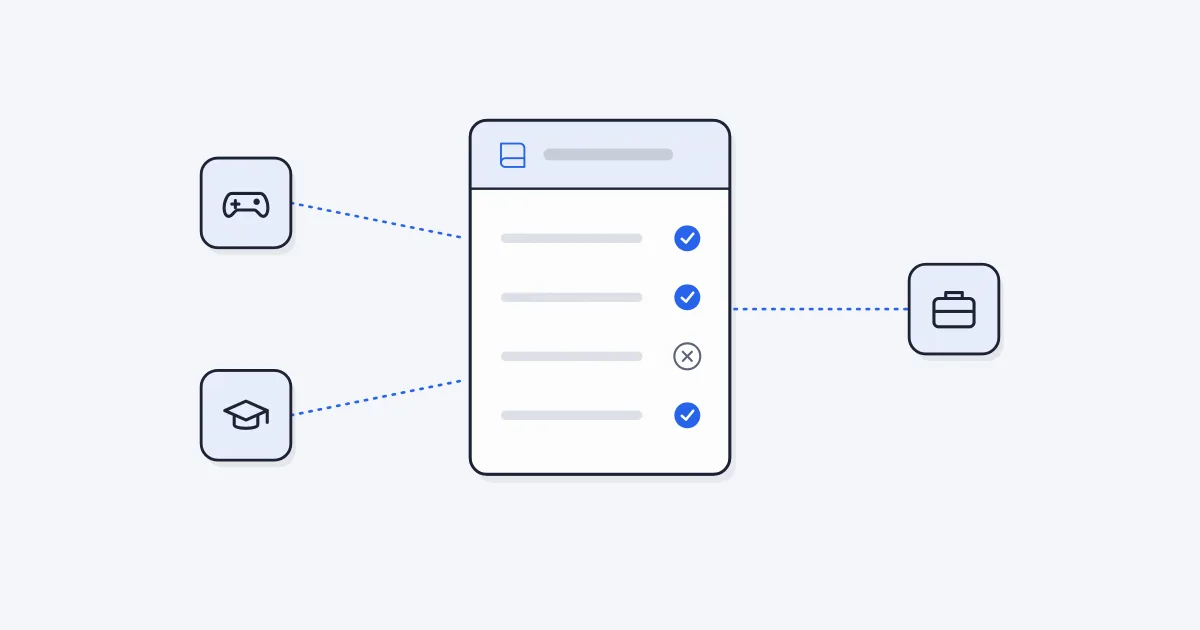
A practical guide to when auto clickers are fine and when they break the rules, for online games, single-player games, school devices and work tools.